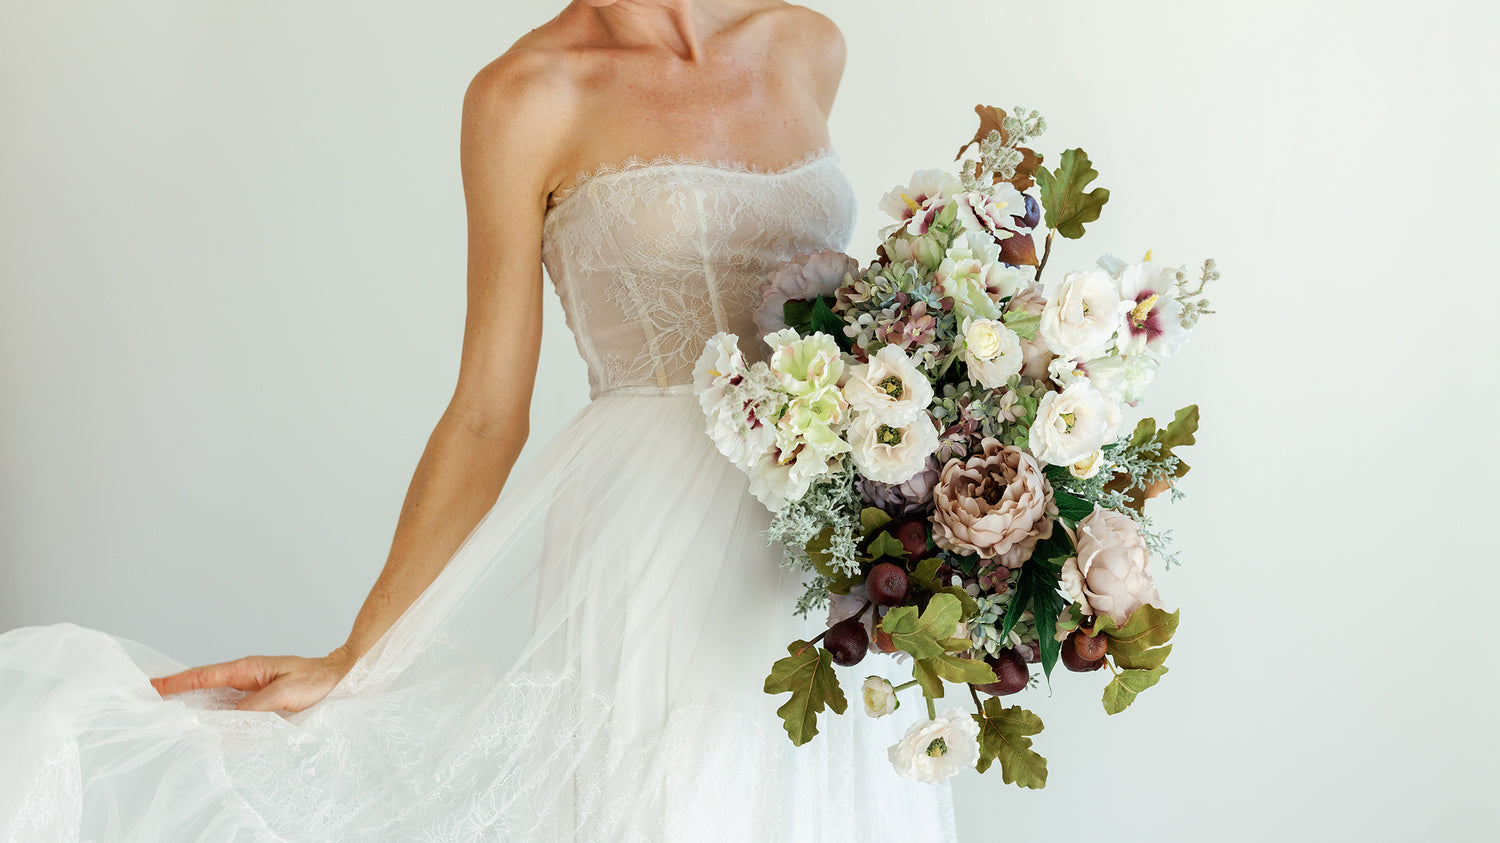
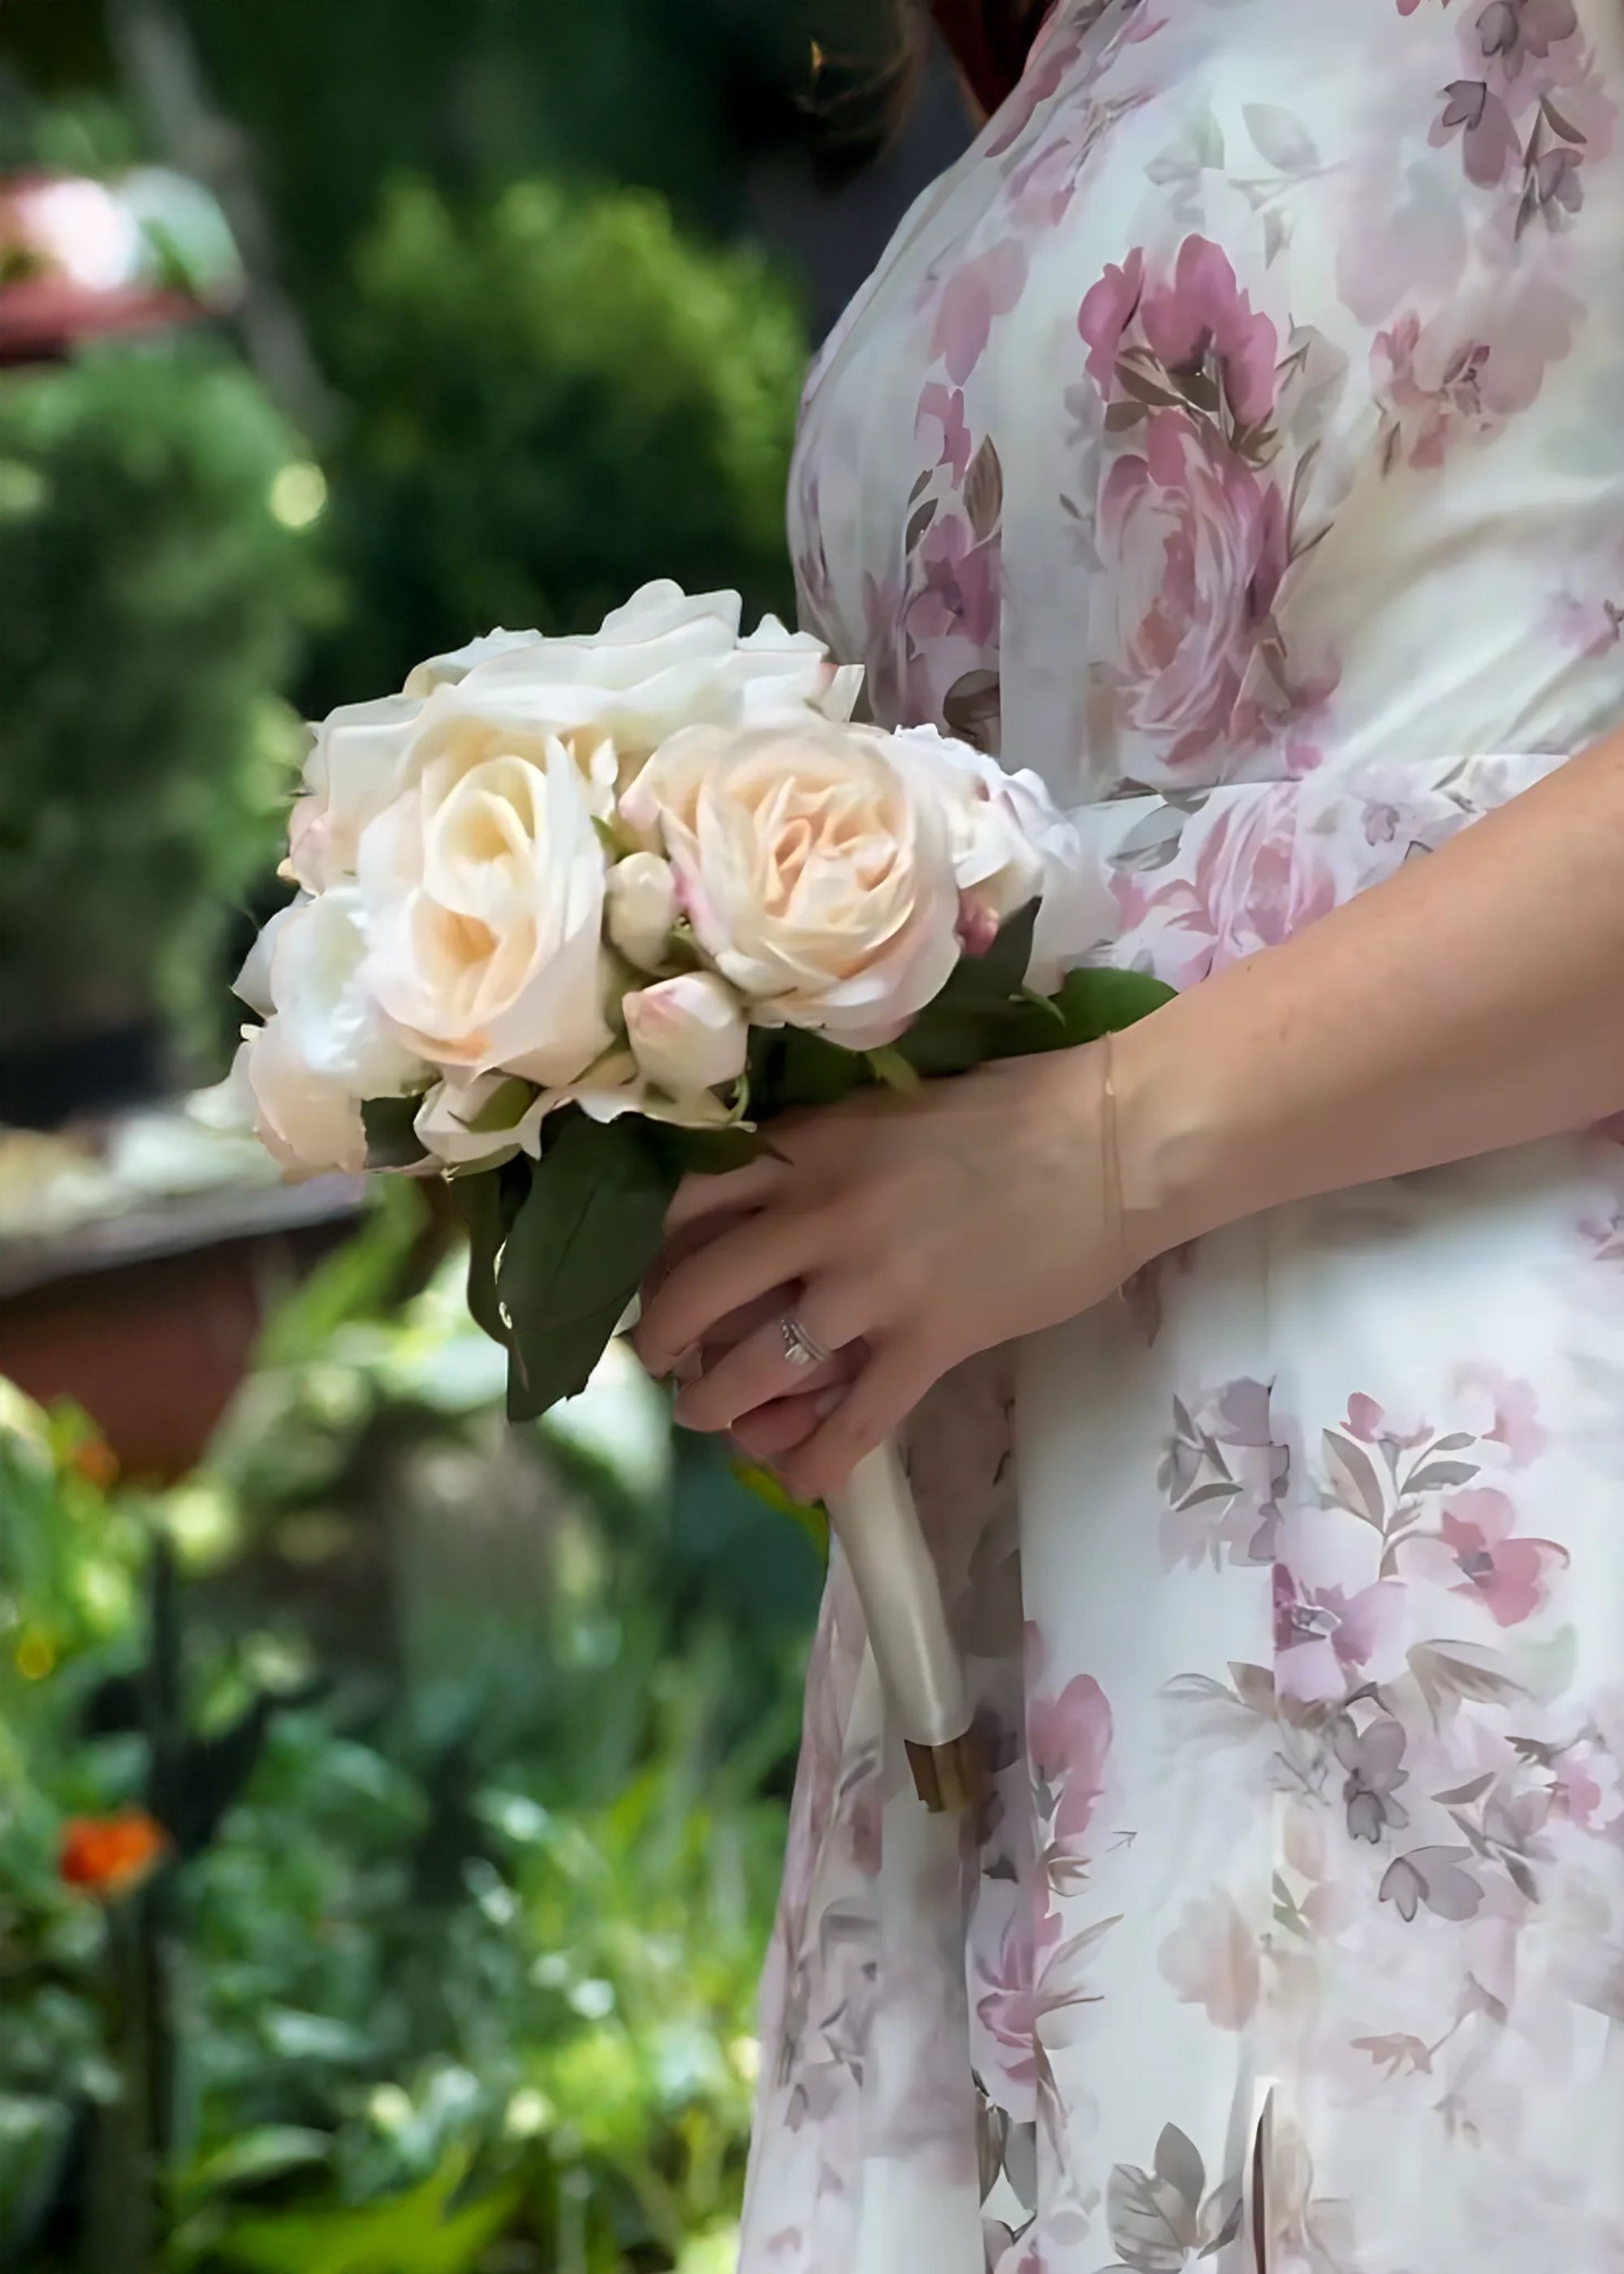
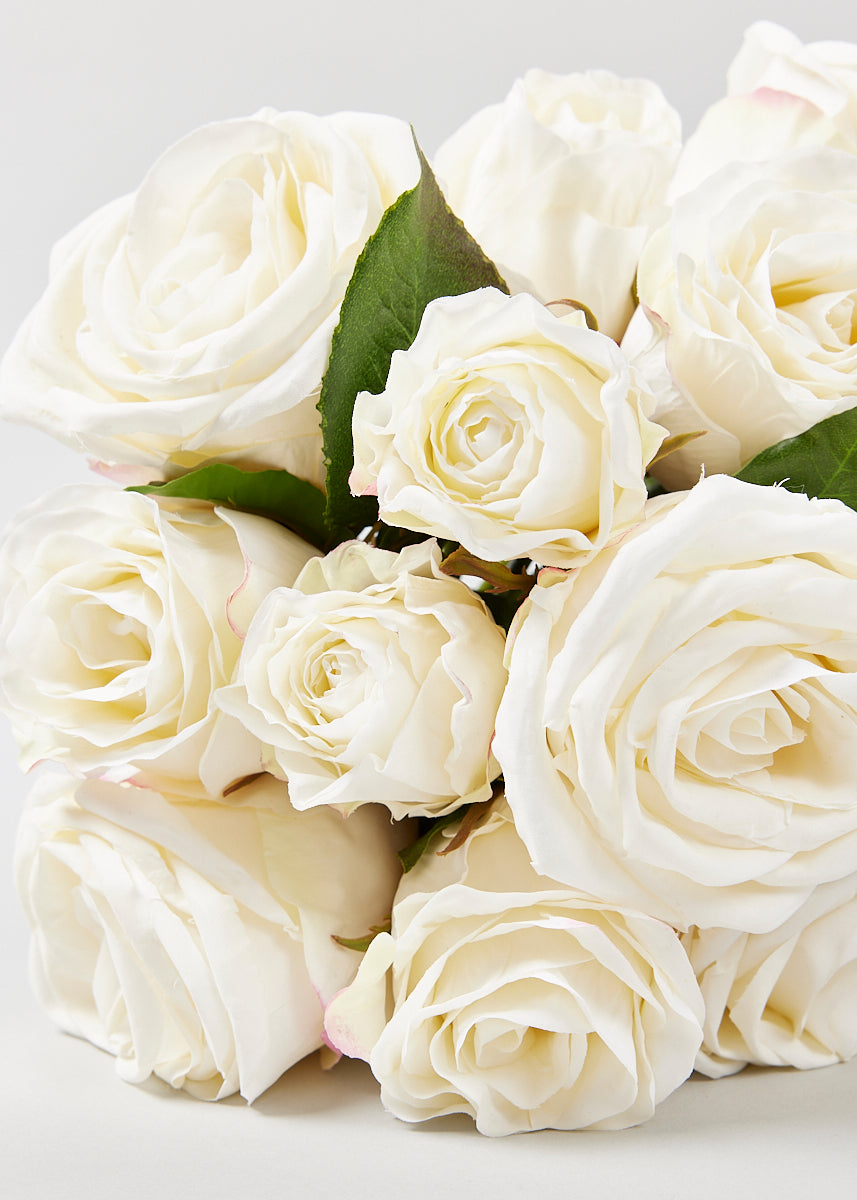
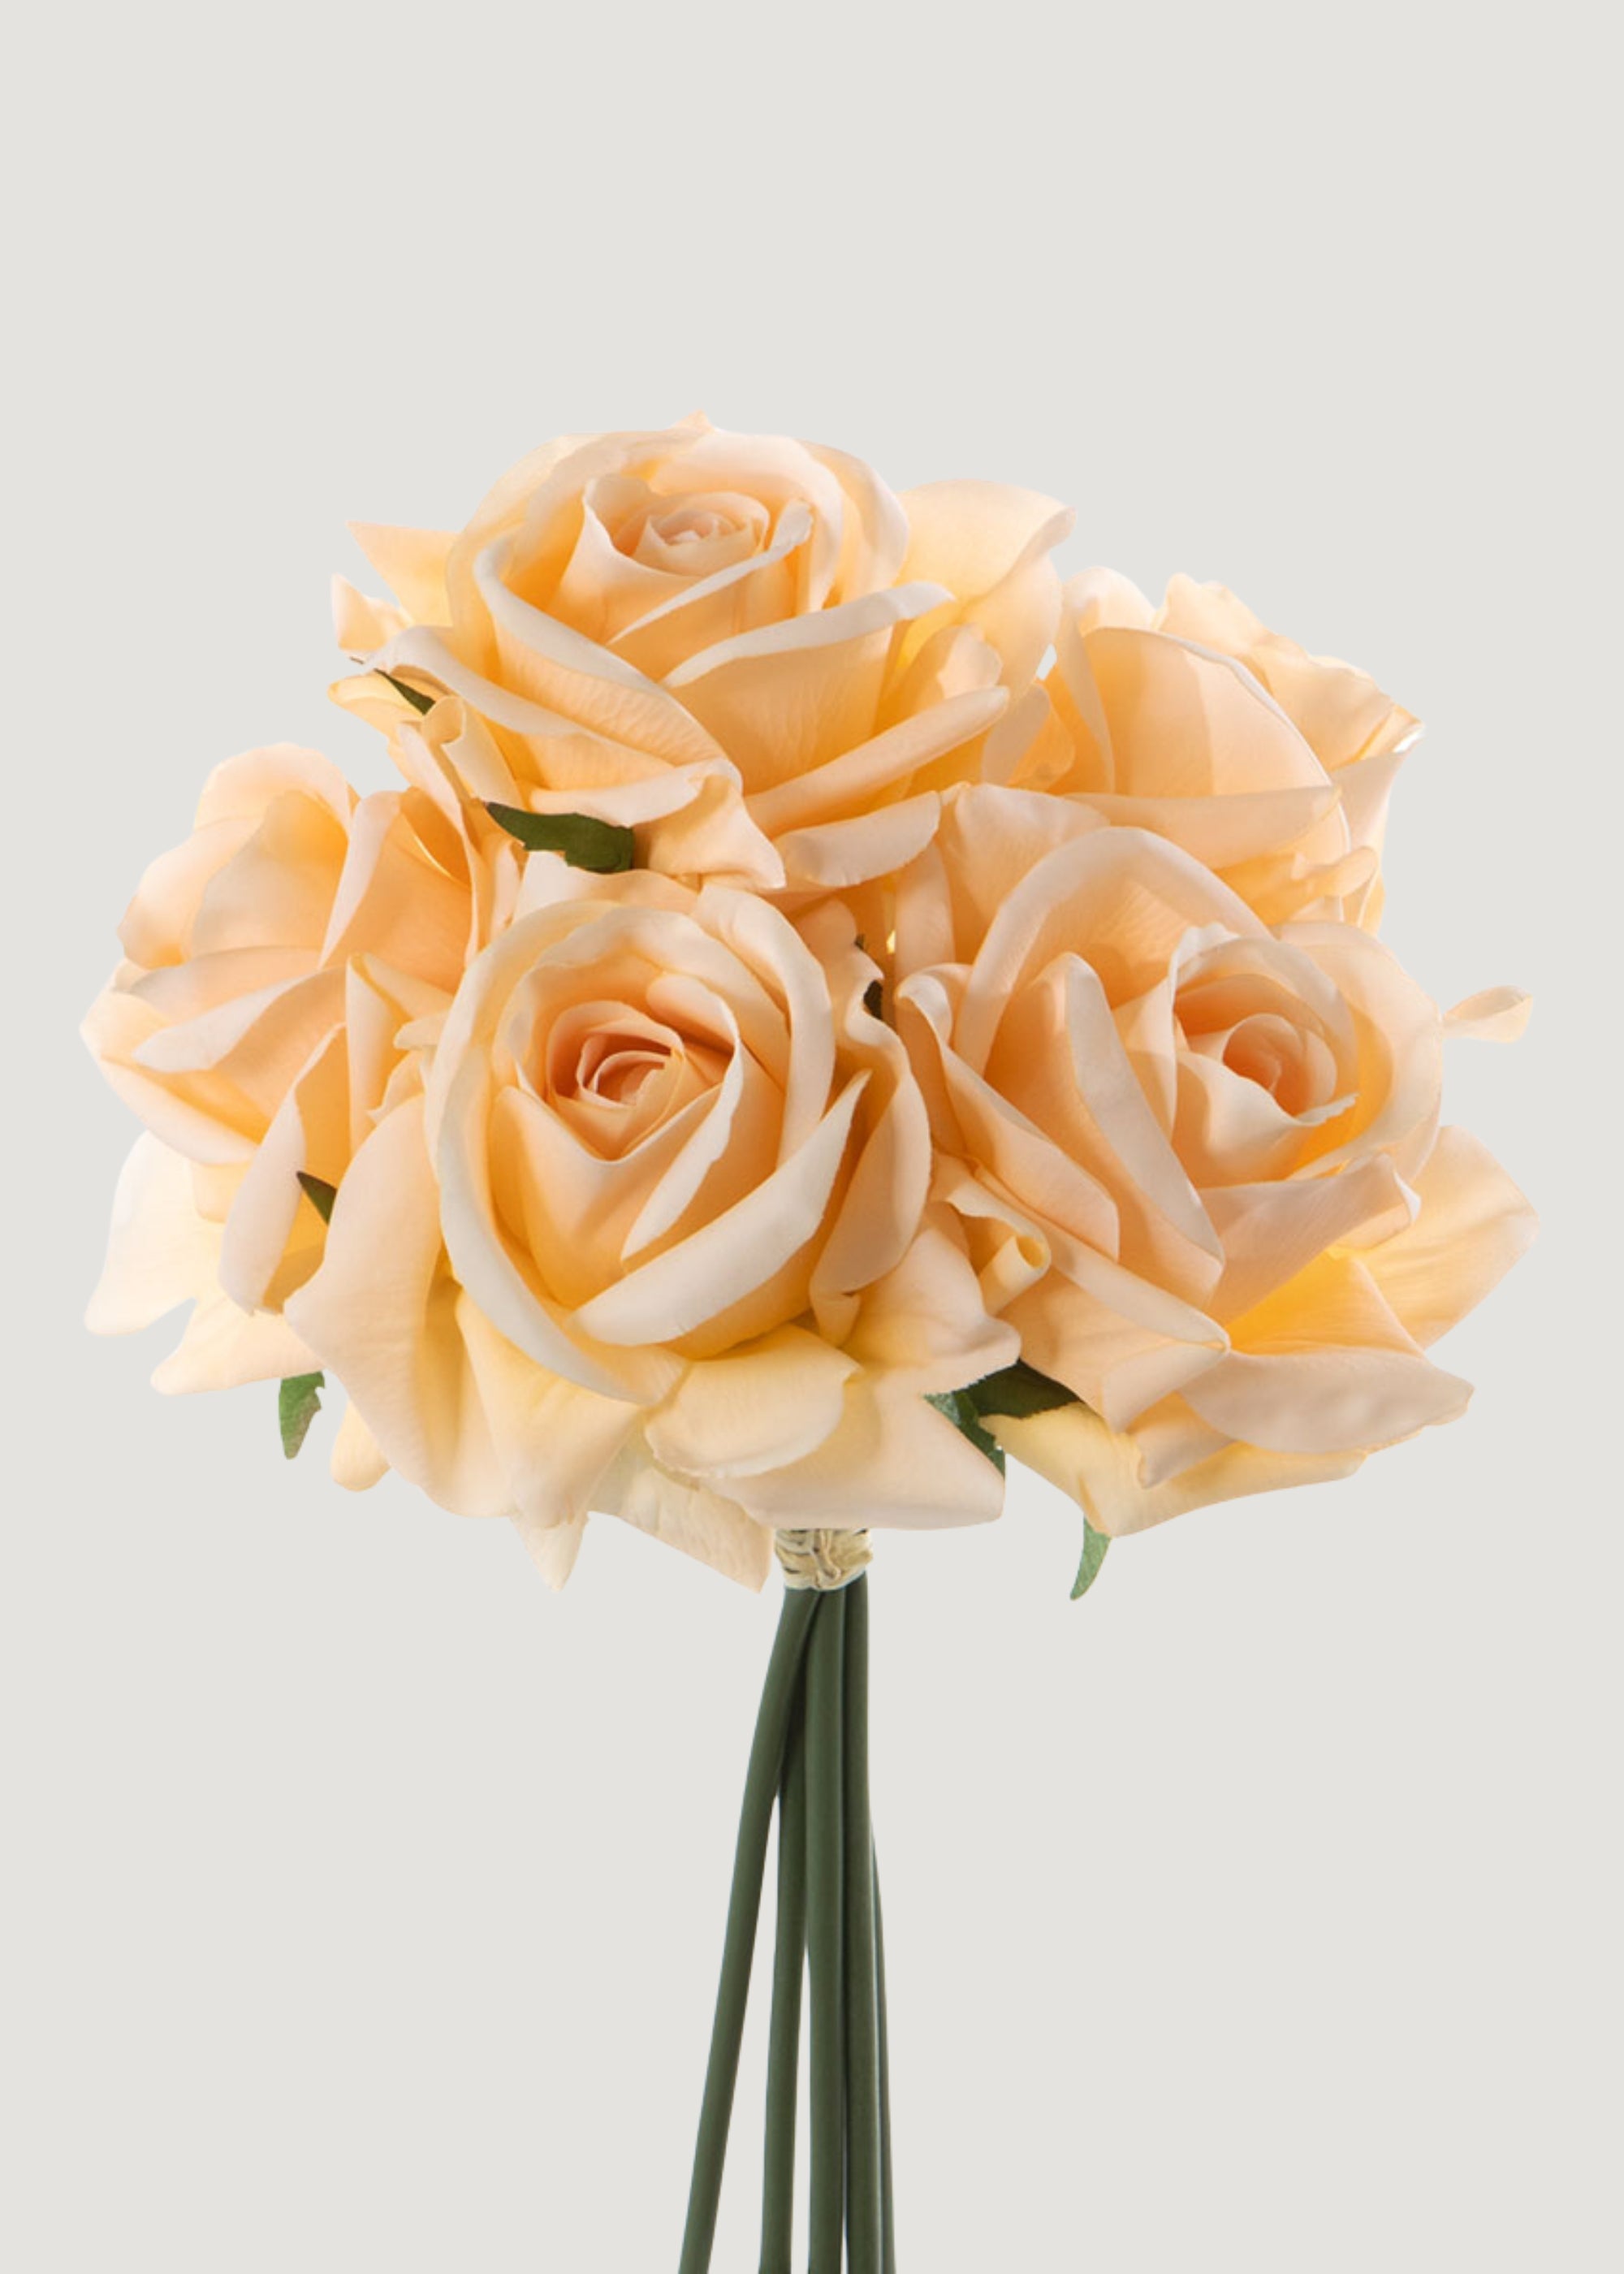
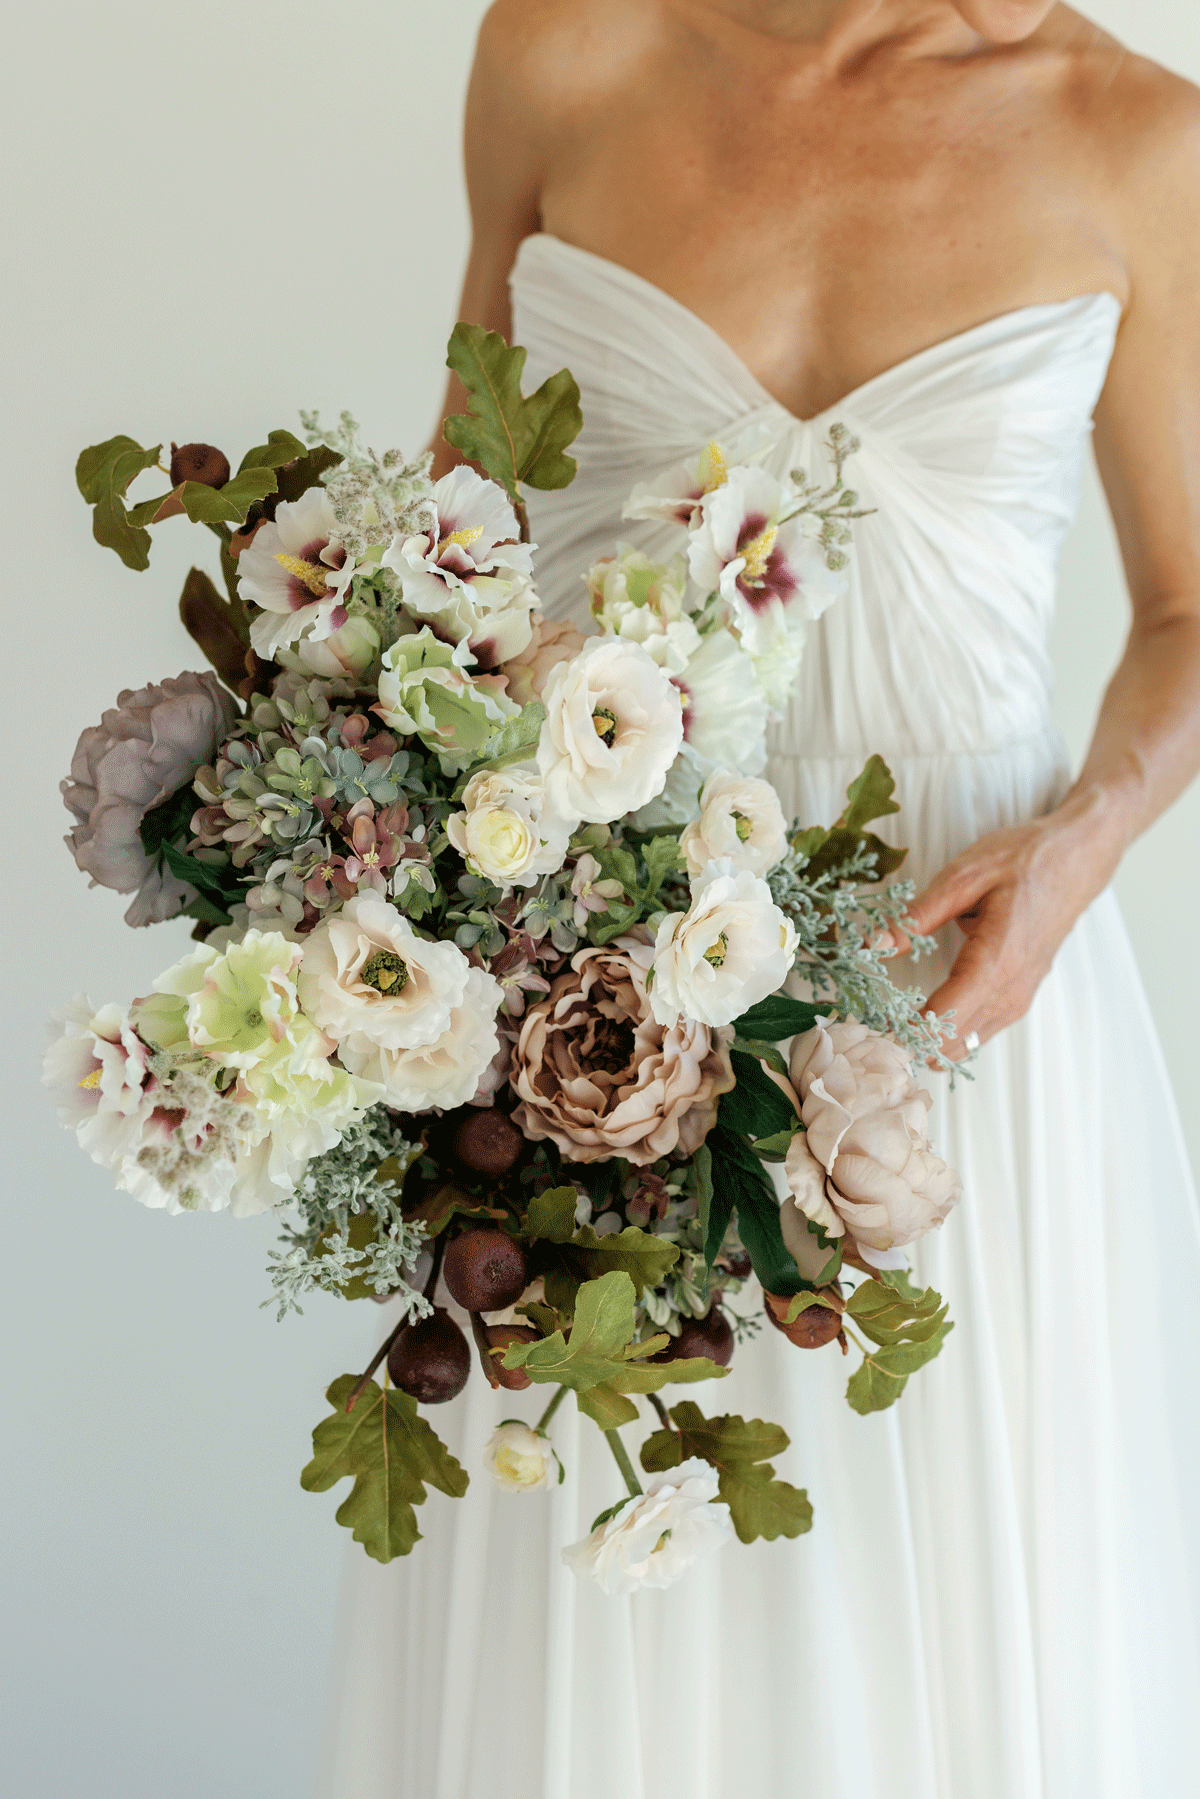
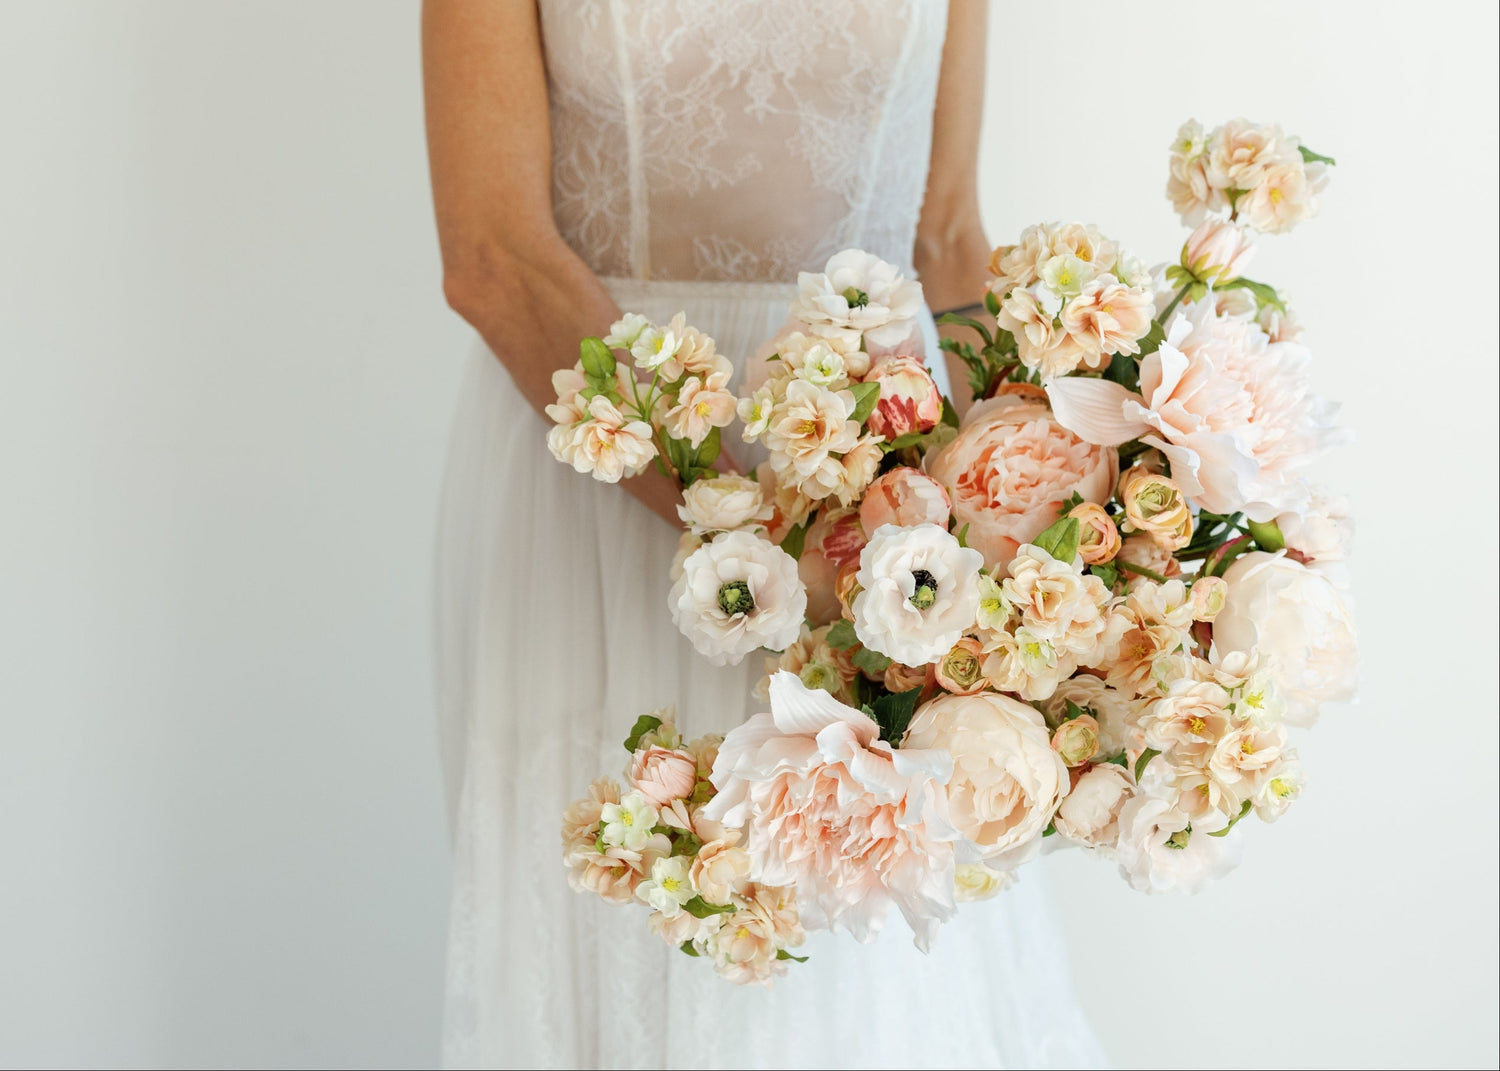
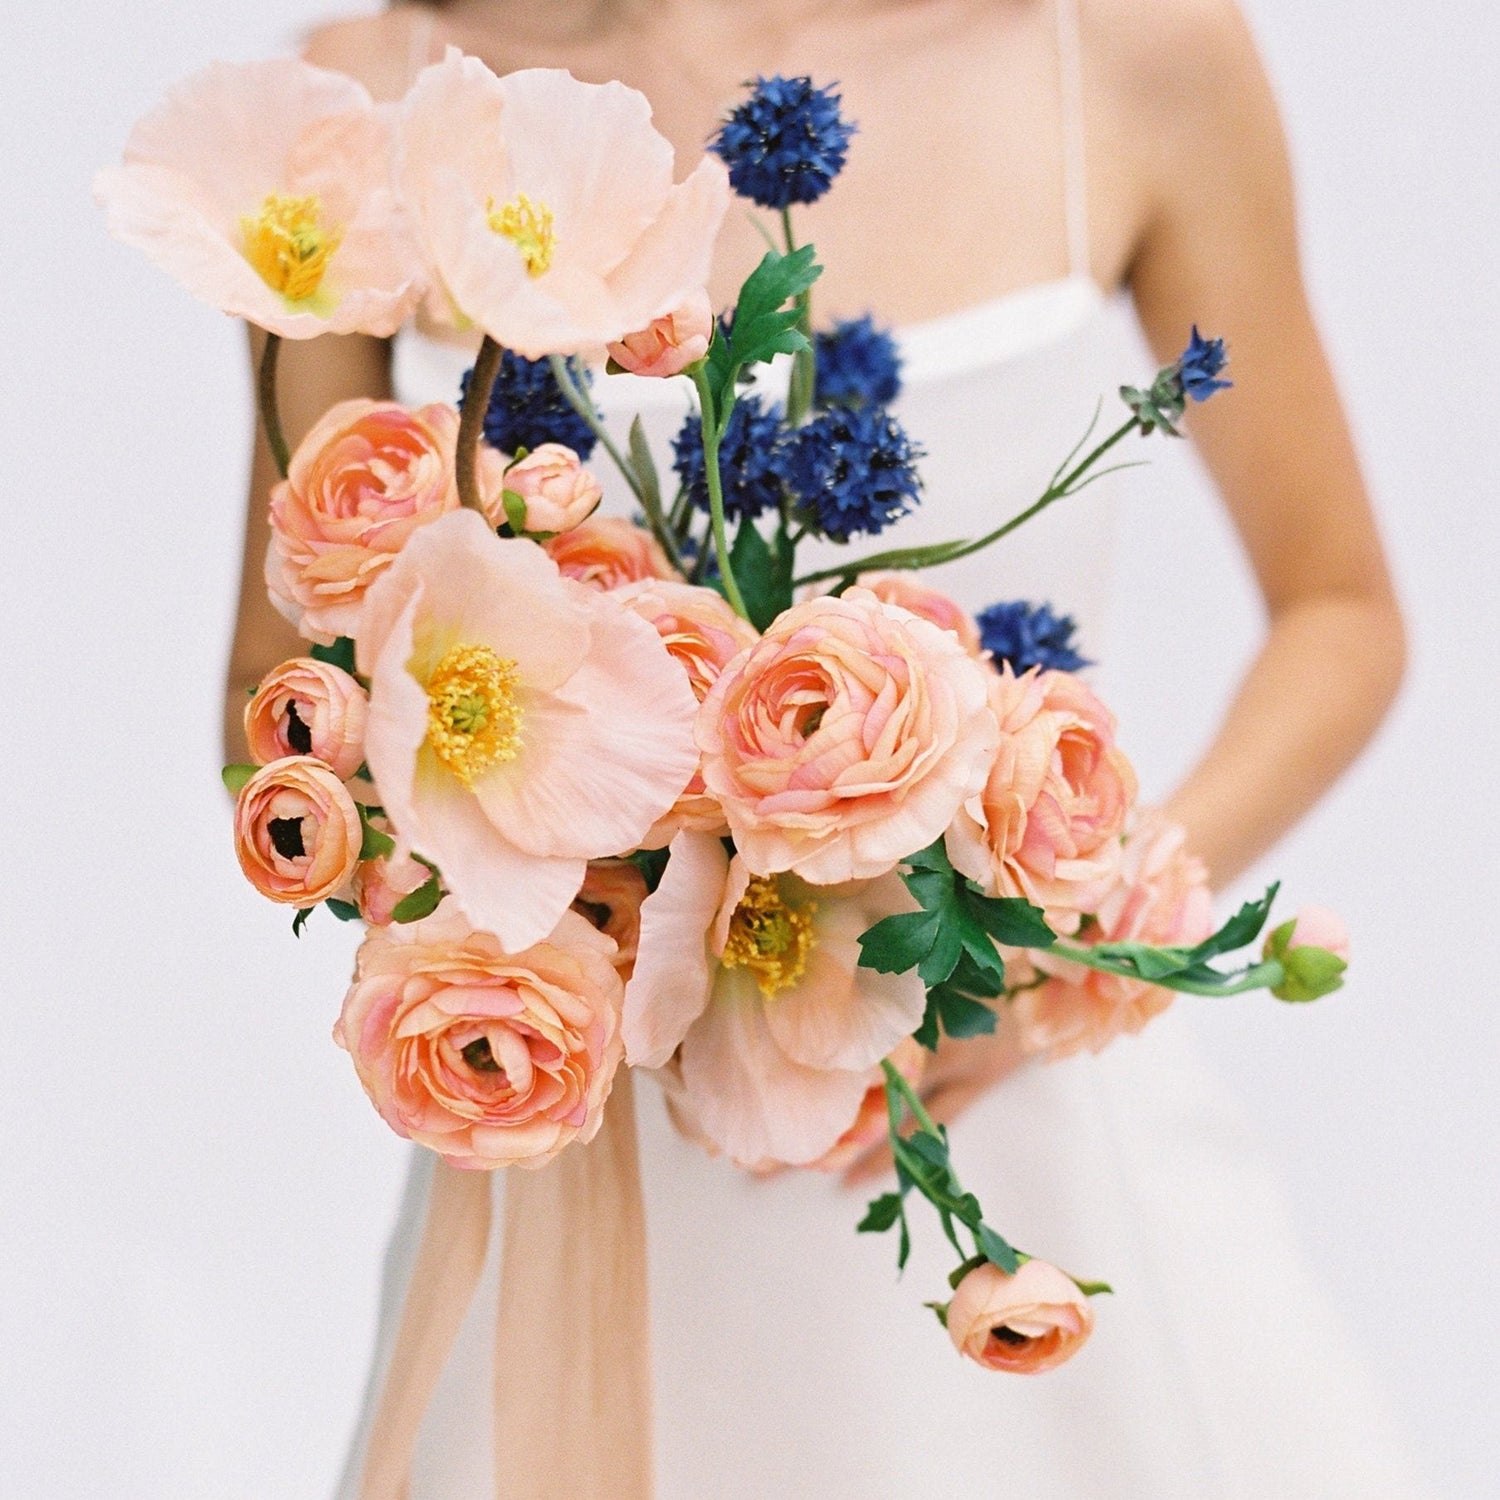
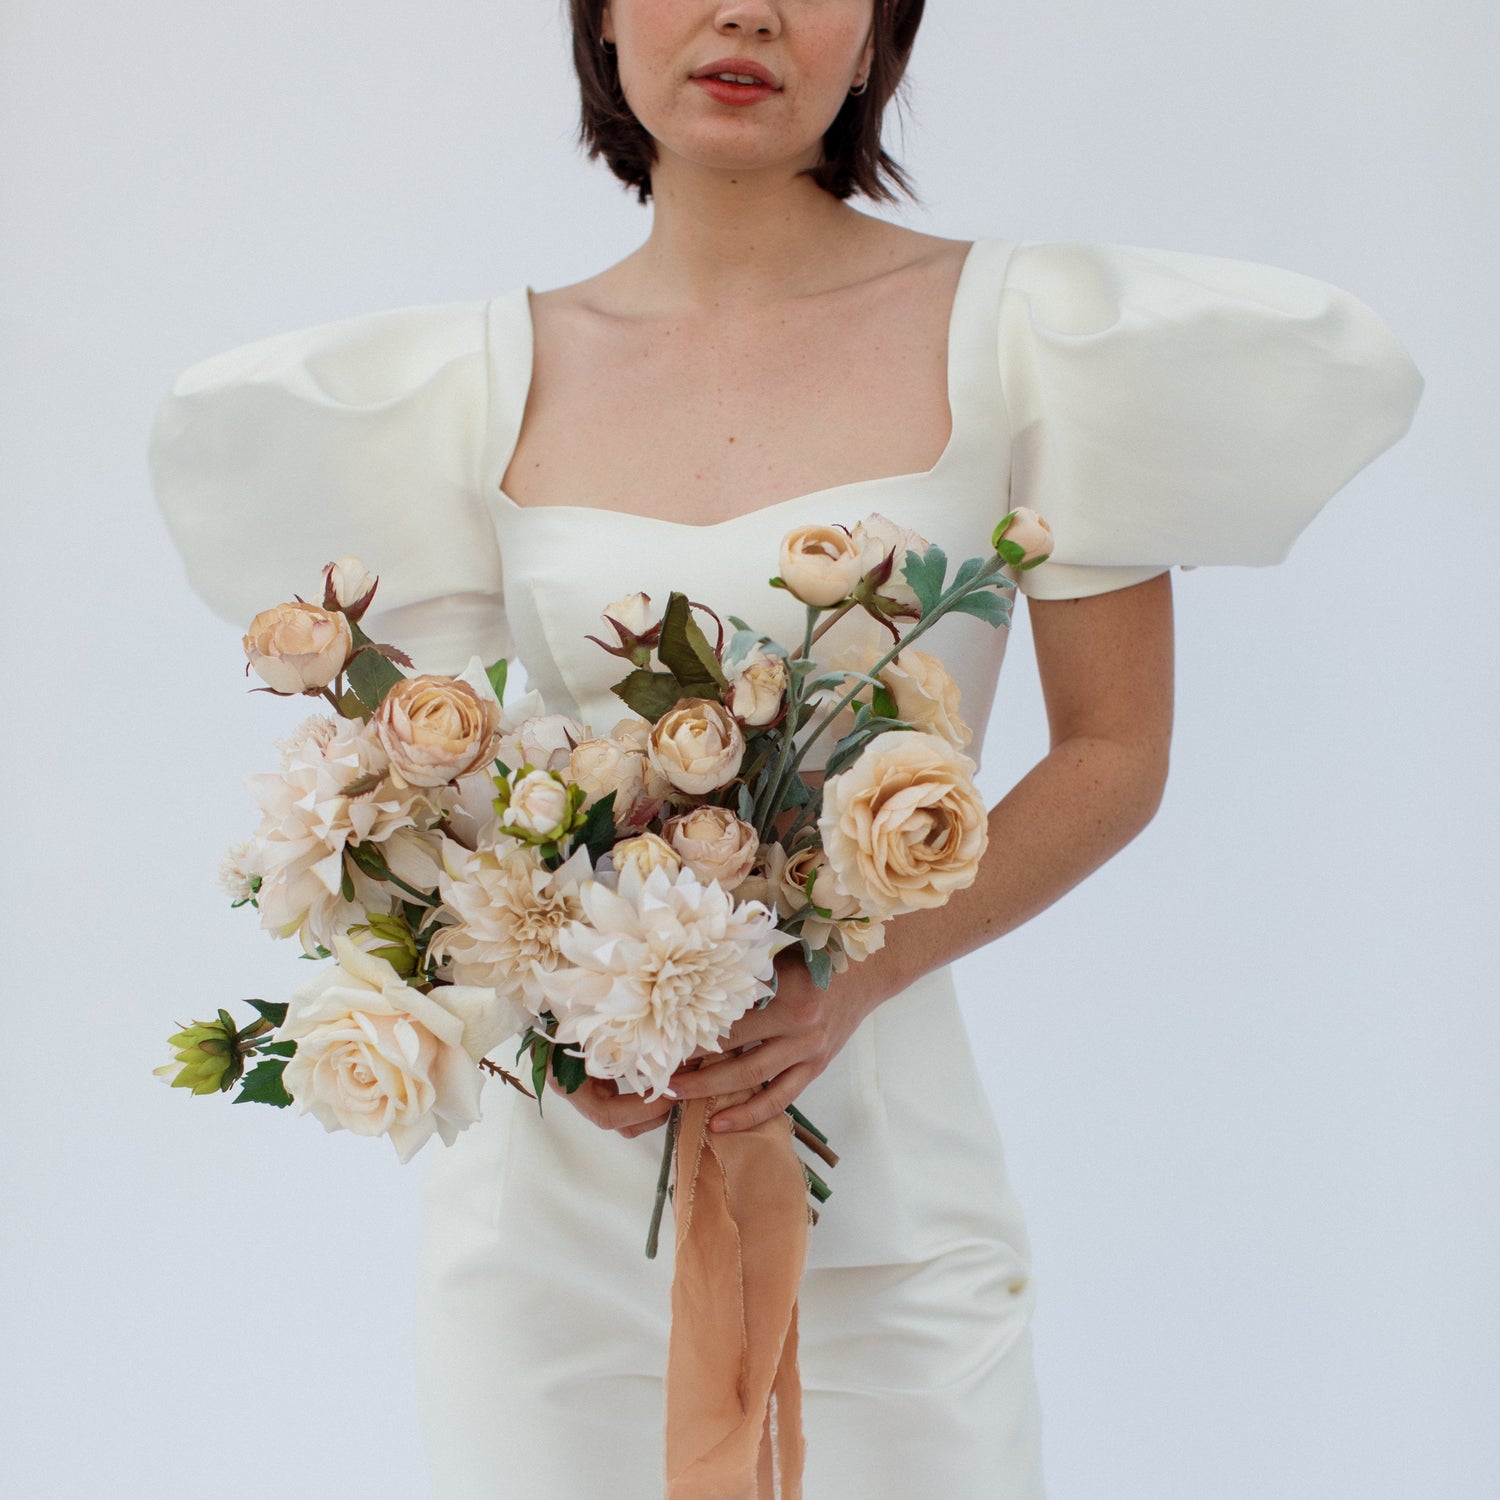
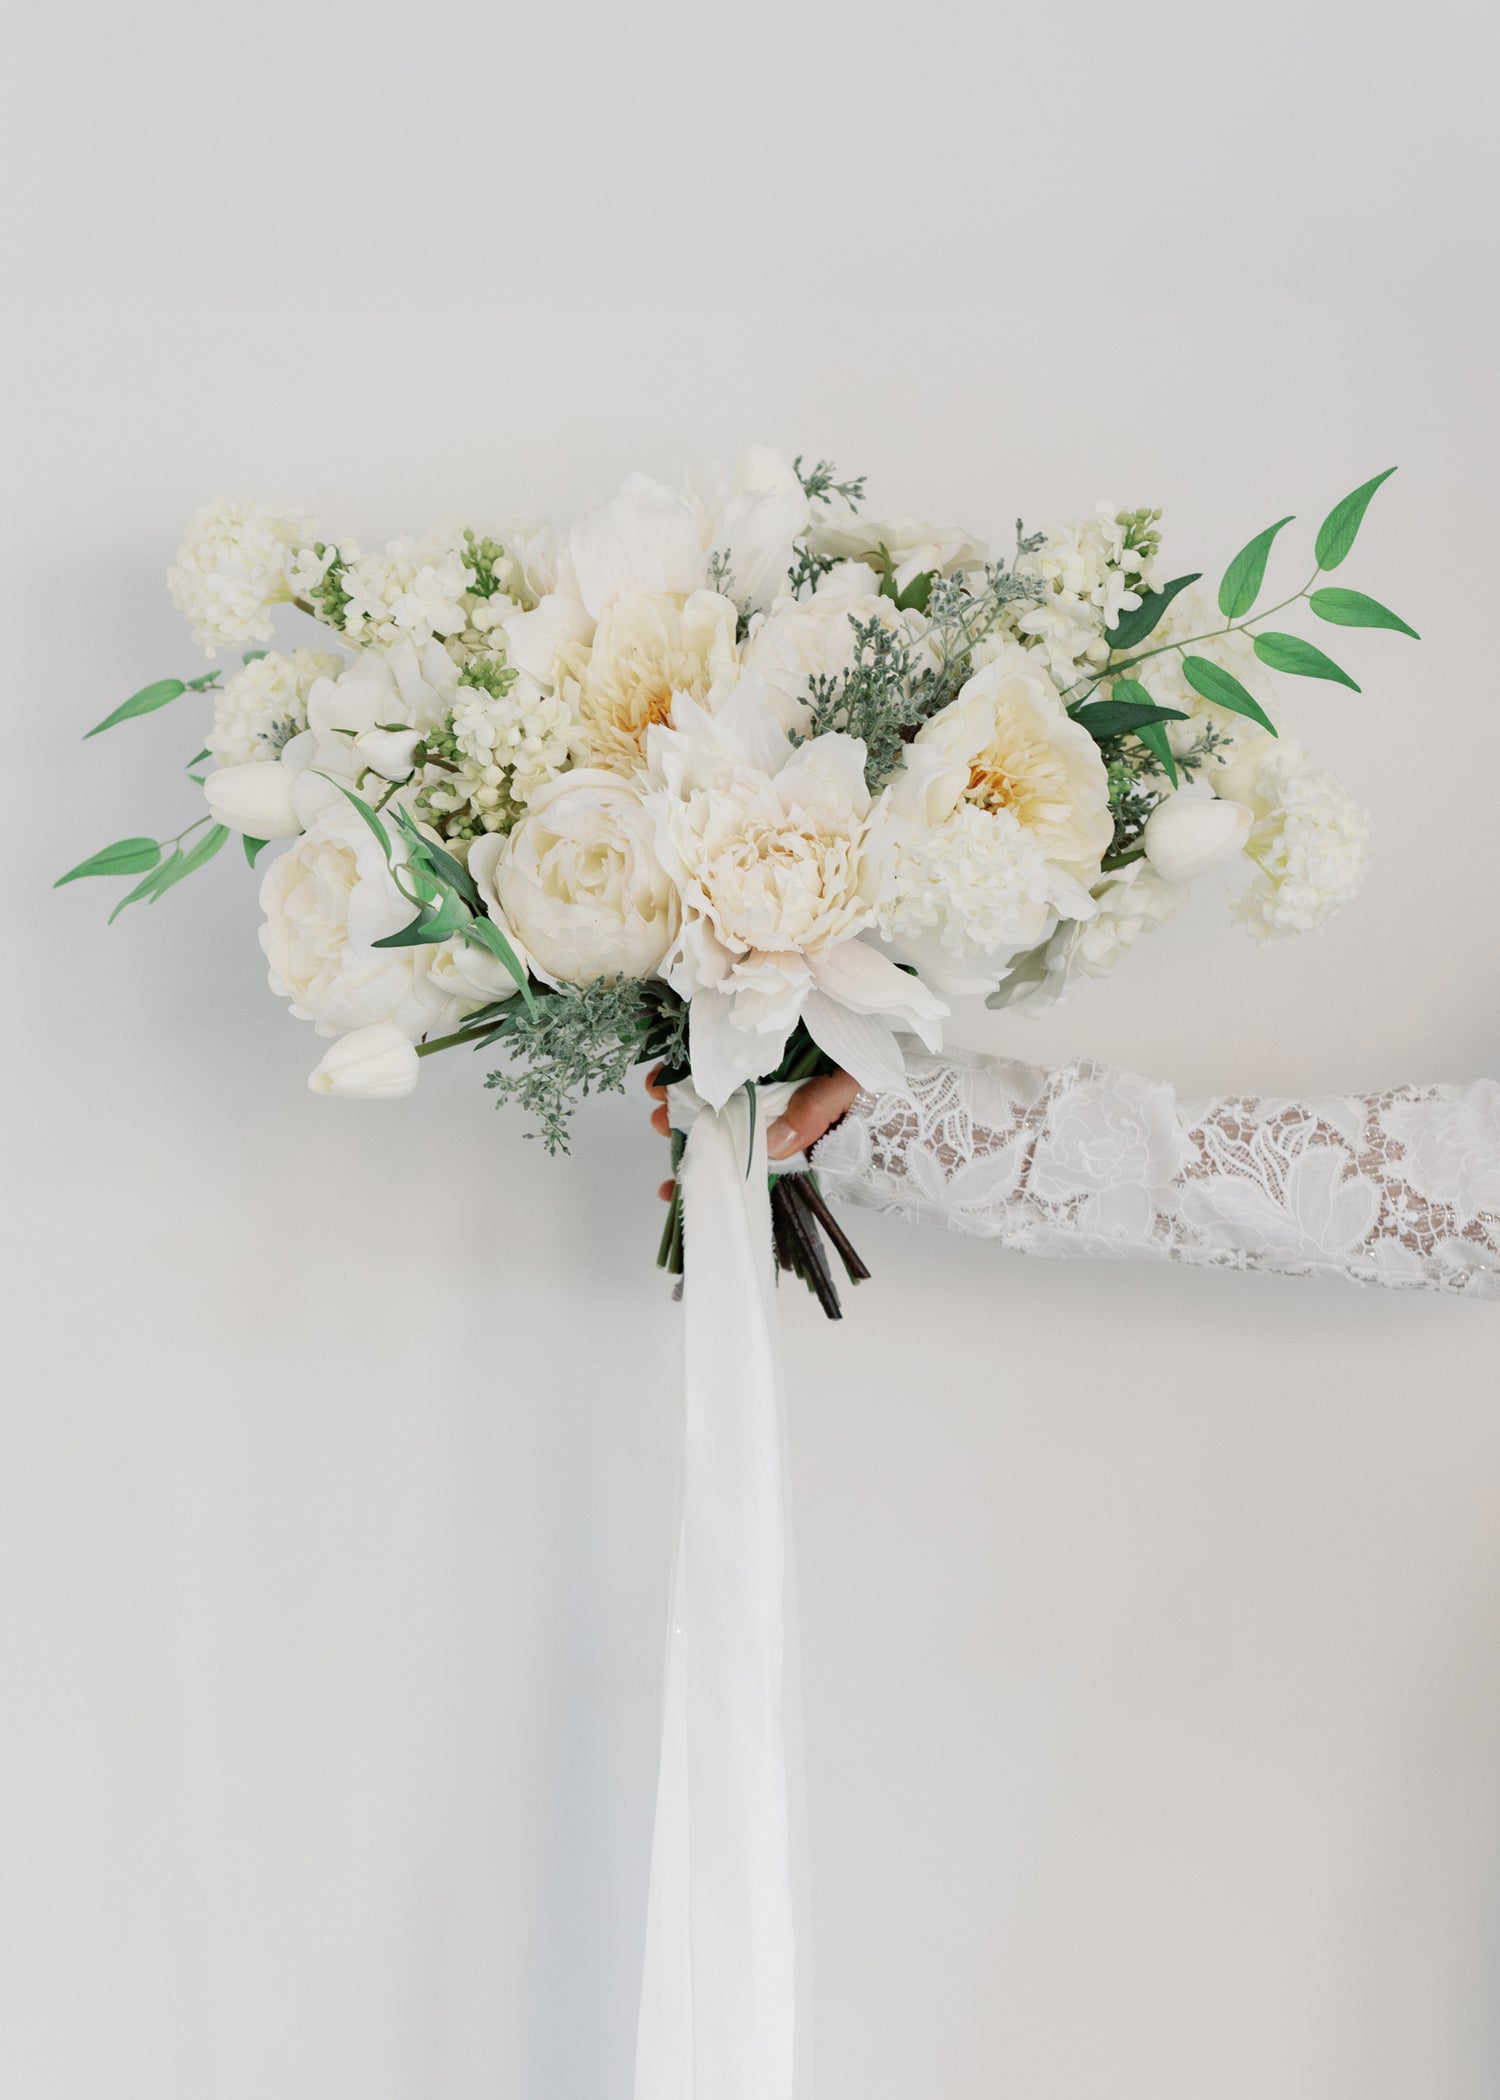
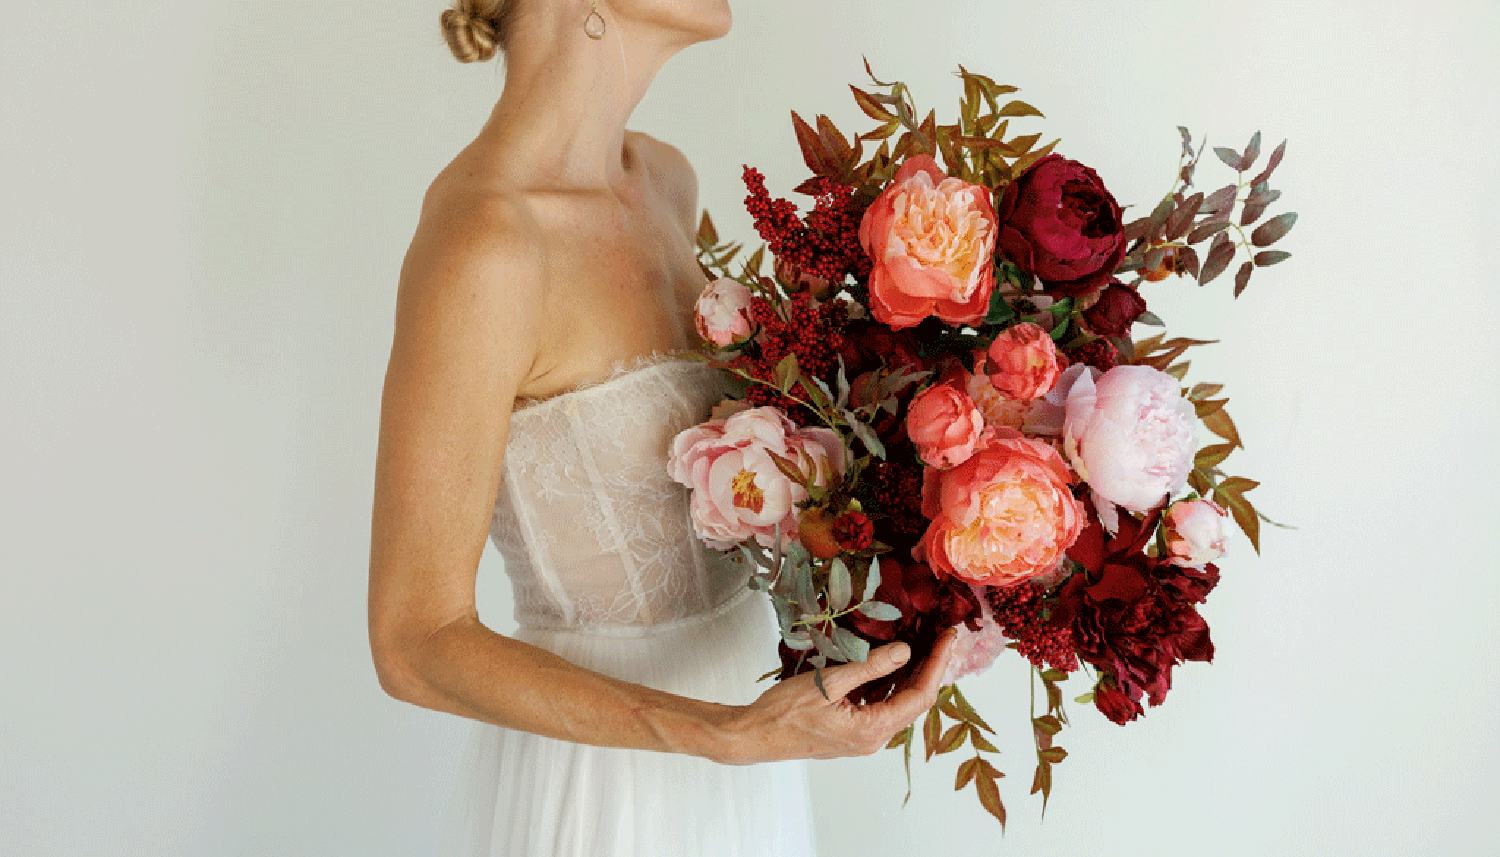
Make Your Wedding Bouquet

Jen from the Nectar & Bloom floral studio provides a step-by-step tutorial to design your stunning, everlasting bridal bouquet with life-like artificial flowers by Afloral.

DIY Wedding Bouquet

1. Build the Foundation
  • Start with the Greenery: Take your Spiral Eucalyptus stems first. Layer them loosely in the center of your hand to create a natural, airy frame. This sets the initial width and height of the bouquet.
  • Place Your Statement Flowers: Introduce your largest and most impactful Artificial Roses around the central greenery. These anchor the bouquet, establish the highest point, and form the first layer of color.

2. Fill and Harmonize
  • Nestle in the Secondary Flowers: Add the smaller Faux Ranunculus blooms. Place these slightly lower and around your main roses to build volume, introduce texture, and fill in any initial gaps.
  • Layer the Remaining Statement Flowers: Incorporate your remaining Artificial Roses, especially those in different shades. Distribute them strategically to create a beautiful color gradient and ensure different types of flowers are intertwined, not clustered together.

3. Final Touches
  • Secure the Core: Once you are happy with the shape, use floral tape to firmly secure all the stems at the binding point. This makes the bouquet manageable for the final step.
  • Add the Airy Elements: Finish by inserting any small, floaty filler flowers or delicate buds (the airy, poetic stems) on the outer edges. Allow these stems to extend slightly further than the main blooms. Their purpose is to add lightness and refine the final, natural shape of the bouquet.

The Afloral Bridal Bouquet Gallery

Bring your wedding vision to life with Faux-Ever™ Wedding Flowers. Assemble your choice of premium faux flowers and stems for a stunning, permanent bridal accessory.

From the Afloral shop in New York to the styling stations of floral experts, we’ve assembled an array of beautiful bouquets for you to model, alter and carry down the aisle.

Opulent Romance

A grand, textural arrangement designed to make a dramatic statement. The color palette of this bouquet revolves around rich, elegant jewel tones, featuring deep burgundies, plums, and touches of velvety emerald foliage, contrasted by soft ivory accents for dimension. The juxtaposition of deep and light hues brings a sense of depth and formality.

Stems in this bouquet:


Peach Pink Silk Flower Bouquet with Ranunculus and Peonies

Feminine Blush

A sophisticated, creamy pastel bridal bouquet with predominantly soft blush, champagne, ivory, and light peach. With a limited color palate, this bouquet emphasizes the textural depth and intricate structure of the blooms through varying sizes and shapes. The resulting look is thoughtful, delicate, and highly romantic with dynamic movement.

Stems in this bouquet:


peach wedding bouquet made of silk flowers

Whimsical Contrast

A vibrant, springtime palette of soft peach, salmon, and apricot tones, providing warmth, romance, and a sense of delicacy. These gentle, buttery colors are punctuated by bold accents of deep indigo, which adds a surprising, modern pop for an artistic, high-fashion wedding bouquet.

Stems in this bouquet:


beige cream bridal bouquet with dahlias, roses, and ranunculus

Muted Tones

A warm, dried-look bouquet fitting late summer and fall aesthetics. The color palette is chosen for muted neutrals and soft, gentle shades, featuring dusty sage, antique cream, light peach and soft linen. The rounded rose petals in this bridal bouquet contrast the tapered dahlia petals, providing depth.

Stems in this bouquet:

Dahlia and Peony Silk Flower Bridal Bouquet

Timeless Bride to Be

The pure white and ivory color palette of this bouquet is punctuated only by subtle shades of crisp green foliage. By eliminating color variation, the bouquet places all emphasis on the structure, size, and varying textures of the blooms. This monochromatic approach brings a deeply traditional and eternally chic style, elegantly matching the bride.

Stems in this bouquet:


Passionate Drama

The core palette of this bouquet is dominated by rich crimson, scarlet, and burgundy, creating an intense, monochromatic field of color. This vibrant saturation brings high drama, confidence, and classic romance. The boldness is balanced by touches of deep, dark foliage to provide contrast and structure without distracting from the main color.

Stems in this bouquet:

Make a Boutonniere

Florals on your big day call for a complimentary boutonniere. Match your DIY bouquet to your partner with these simple boutonniere steps, made by floral experts with Afloral.

DIY Boutonniere Steps

1. Select and Prep Your Stems
  • Choose Your Focus Flower: Select one perfect, small-to-medium-sized main flower (a mini rose, ranunculus, or bud) that will be the centerpiece of the design.
  • Select Your Greenery: Choose a small piece of greenery (like a single leaf or a small sprig of eucalyptus) that will sit behind your main flower.
  • Trim the Stems: Cut the stems of both your flower and your greenery to a length of about 2 to 3 inches. You need just enough to hold onto and wrap with floral tape.
2. Assemble the Base
  • Layer the Pieces: Place your greenery behind your main flower. The greenery should slightly peek out from the back and sides of the bloom.
  • Align and Hold: Hold the two stems together tightly at the point where they cross, making sure the blooms are facing forward and sitting exactly how you want them to look when finished.
3. Tape and Finish
  • Start the Taping: Take a piece of floral tape (which is sticky when stretched) and begin wrapping it tightly around the crossed stems, starting just below the bloom head.
  • Wrap Neatly: Continue wrapping the tape smoothly and firmly down the entire length of the remaining stems. Overlap the tape as you go to ensure all the wire is completely covered.
  • Final Trim: Once the stems are fully wrapped, use your wire cutters to trim the base of the stems so that the finished boutonniere is about 3 inches long in total. The bottom should be cut straight across.
  • Add Ribbon (Optional): If desired, wrap a small strip of ribbon (like silk or satin) over the floral tape to give it a polished finish that matches the suit or dress. Secure the ends of the ribbon with a tiny dot of hot glue.